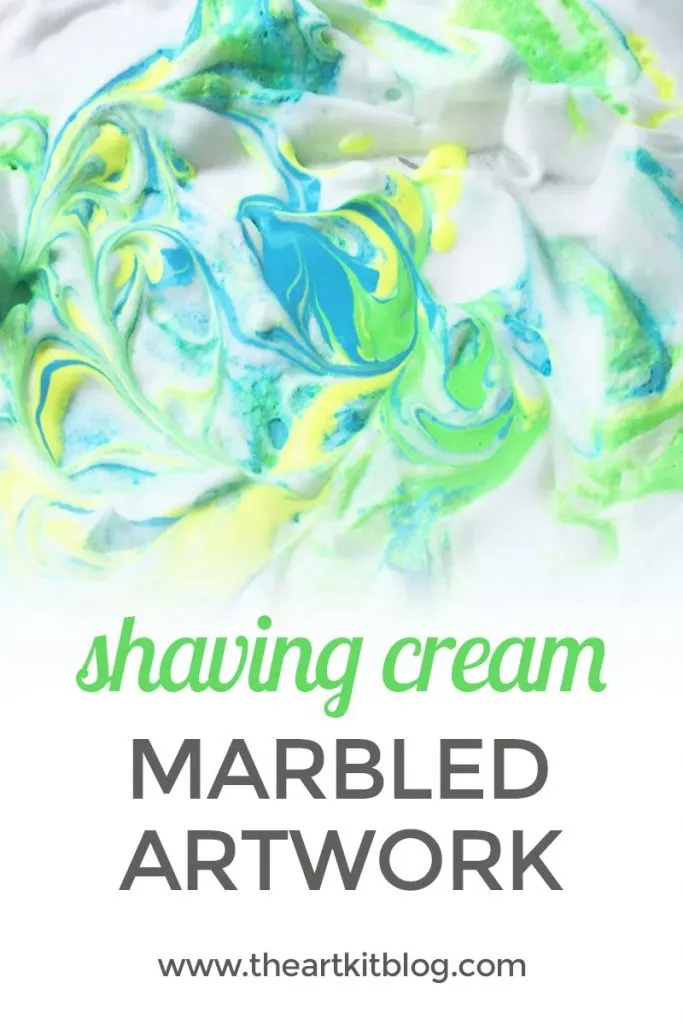
Shaving Cream Paint Marbled Artwork
Disclosure: This post contains affiliate links and I may receive a commission if you visit a link and purchase something from an ad or sponsored link shared. Purchasing via an affiliate link does not cost you any extra. As an Amazon Associate, I earn from qualifying purchases. Please see our full disclosure if you’d like more information. The Art Kit is a participant in the Target Affiliate Marketing Program, an affiliate advertising and marketing program that pays commissions to affiliates, like me, that advertise and link to Target if you buy products from Target through my link.
We’ve been having a blast making all sorts of shaving cream works of art!
This activity is so simple and doesn’t require much prep work at all and the kids absolutely LOVE it!
We love that you can use all those marbled paintings as notecards, room décor, or notebook covers too!

What You’ll Need
- Shaving cream (stick with the basic foaming type for this project- nothing fancy!)
- Pie pan or other shallow container
- Paint
- Toothpicks
- Watercolor paper or other thick paper
- Squeegee
What to Do
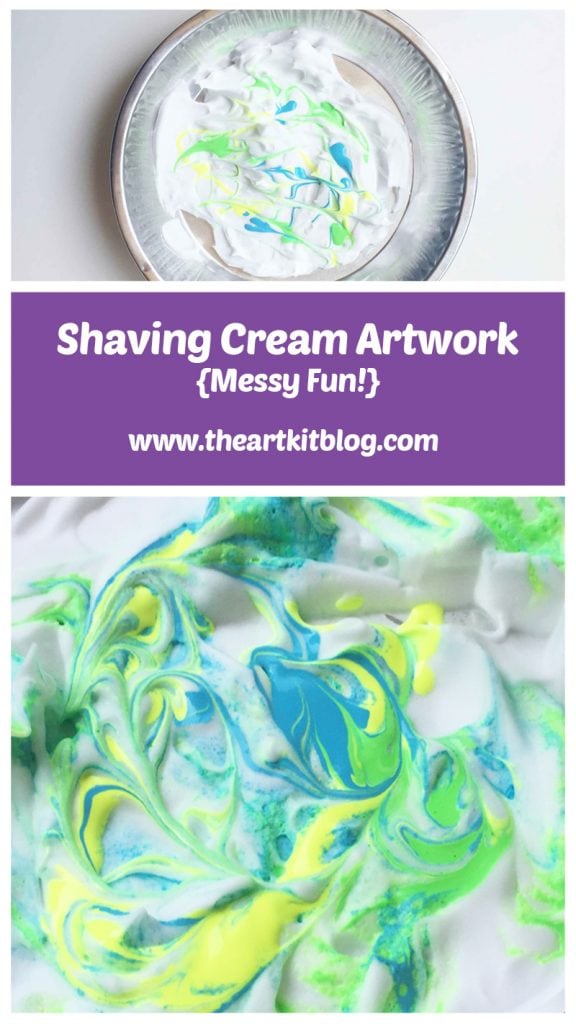
Spray some shaving cream into your pie pan or other shallow container. You can either smooth the top a bit or leave it as it is.


You may also enjoy learning how to make bubbles from a fellow blogger.
Squirt some paint on top of the shaving cream. We added a few different complementary colors but you can choose as many or as few as you’d like!


For more fun crafts, you may enjoy these mermaid crafts for kids from a fellow blogger.
Swirl your colors around with a toothpick.


How fun would it be to use these as a cover for a journal?! You may enjoy these Journal Prompts for Kids from a fellow blogger!
The kids really got into swirling the paint! Our pie plan was ‘a spinning!


Place your paper on top of the painted shaving cream and gently press down.


Lift your paper up and turn it over.


Now for the messy part! Place your paper on a flat surface, shaving cream side up, and squeegee the shaving cream off.
Next, move your paper to a clean, dry, and flat location and allow the paper to dry.
We discovered watercolor paper worked best, while thinner paper had the tendency to curl more.
We also noticed it best to squeegee the paper right away and not let the shaving cream sit on the paper too long.


We loved all the different results we got depending how much swirling of the paint we did, what colors we chose, etc. Have fun and let your imagination run wild!


How did your artwork turn out? Did the kids LOVE working with the shaving cream? We’d love to see photos of the process or the final artwork. Share with us on social media, #theartkit.
Did you enjoy this post? Please share it! Or, pin for later:

❤️🔥 Click here for today’s HOT deals!
💌 Follow us on Amazon, Facebook, YouTube, Pinterest, Instagram, and Twitter, and please sign up for our newsletter to receive updates and FREE printables.
💵 Check out our coupon page – we have coupon codes for dozens of shops!
Visit our printable shop for even more fun printables!
If you enjoyed this post, please share it on social media. Or, pin this to save it.

