Oven Bake Pinch Pots {An Easy DIY Craft Activity}
Oven Bake Pinch Pots {An Easy DIY Craft Activity}
Disclosure: This post contains affiliate links, which means I may earn a commission if you make a purchase through one of my links, at no additional cost to you. As an Amazon Associate, I earn from qualifying purchases. Please see our full disclosure for more information. The Art Kit participates in the Target Affiliate Marketing Program and Walmart’s affiliate program and may earn commissions from qualifying purchases made through our links. Please note: Always use appropriate supervision and use caution with small pieces. Be sure products and activities are appropriate for your child’s age and skill level.
We are loving working with clay! We've been making all sorts of crafts with clay but we recently made mini pinch pots that turned out just darling! They would be great to give as a gift or to keep and store jewelry or other treasures in.

What You’ll Need
- Clay
- Paint
- Glaze
- Glitter (optional)
- Clay conditioning machine (optional)
- An oven
What to Do
Begin by taking your clay and kneading it a bit before forming it into a ball. You could also run it through a clay conditioning machine if you'd like. We recently purchased one and the kids have been having so much fun with it! It really softens the clay well and makes it so much easier to work with.

Once you have formed a ball with the clay, gently press your thumb into the center of the ball, being careful not to press too far down, as you want to ensure you have a sturdy bottom to your bowl.

Related: Mini Grapevine Wreaths {Easy DIY}
Next, start gently pinching your bowl along the edges. Place your thumb back into the center of the bowl while you use your pointer finger on the outside of the bowl to pinch the bowl into the shape you'd like.

Once this is done, you can keep your bowl as a round shape or you can form it into a heart, square, rectangle, or any shape you'd like.
We couldn't choose, so we made a couple different shaped bowls. You could also shape a small bit of clay into a heart or other shape and press it gently into the bottom of the bowl.


Related: Valentine's Day Paper Chains {Free Printable}
Once you've completed your bowl, you could also make a small lid if desired. Simply form a ball with the clay, roll it out, and shape it into the same outline as your bowl (heart, circle, etc.).
You could attach a small clay ball at the top to make it easier to open your lid, or you could attach a small bead or pom pom after you've baked your clay if you'd prefer.
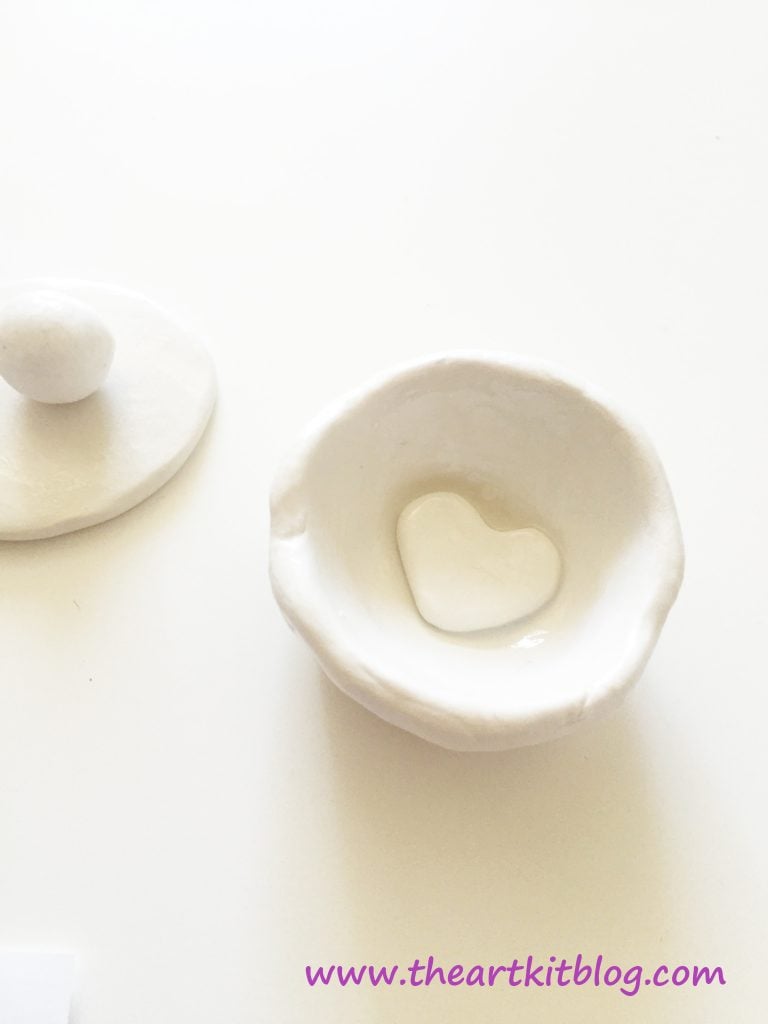
Once you have completed your bowl (or bowls, in our case!) and lid, bake them in the oven according to the directions on the package.
We baked our bowls for about 15 minutes and they came out just perfectly! Once they have cooled, it's time to paint!

You could also add some glitter to give them a little sparkle, if you'd like. We like to use an ultra fine white glitter but you could use any type you'd like. If your paint is still wet, simply sprinkle some glitter right on top. If your paint is dry, you could brush a bit of the glaze on and then sprinkle the glitter on.


Once dry, you can either begin using your pinch pot, or, if you'd like to give it some additional shine, simply brush some glaze on.
We glazed our small round bowl but left our heart bowl as it was. You could try experimenting with both and see which you prefer.

Once dry, it's time to put those bowls to use! Our little ones decided their bowls worked well to hold their treasures, and topped them off with a pink drink umbrella.

How did YOUR bowls turn out? We'd love to see them! Tag us on social media #theartkit or pin for later.

Looking for more simple fun activities? Be sure to check out our other creative ideas:
- Snow playdough {scented with kid-safe essential oils}
- Arctic playdough recipe play activities
- Cupcake liner flower craft for kids
- Homemade snowflake slime recipe
- Perler bead candle holders
What else would you like to see from The Art Kit? Let us know in the comment section below.
We love seeing how we've inspired you! Tag us on social media (@theartkit) so we can follow along with the fun. 🙂
WANT MORE OF THE GOOD STUFF?
Get my favorite finds, helpful resources, freebies, honest reviews, and deals worth knowing about—straight to your inbox.
Love finding a really good deal? Visit Deals + Finds for things I’d actually buy, recommend, or text a friend about.
And if you’d like to keep up with The Art Kit, you can also find me on Facebook, Instagram, Pinterest, TikTok, and YouTube.
Found this post helpful? Share it with a friend or pin it for later. ♡
💵 Check out our coupon page - we have coupon codes for many shops!